How £10 may have saved my vision – OCT scan

After a recent meeting at a client site, I realised that I was having trouble making out the presentation on the board from my seat in the middle of the room. Having been first diagnosed with myopia as a young child and extremely familiar with an ever-changing prescription, I decided it was time to make an appointment for an eye exam.

I asked my husband if he recommended a particular eye doctor. He corrected me that I needed an “optician” – apparently in the UK the term “eye doctor” isn’t used.

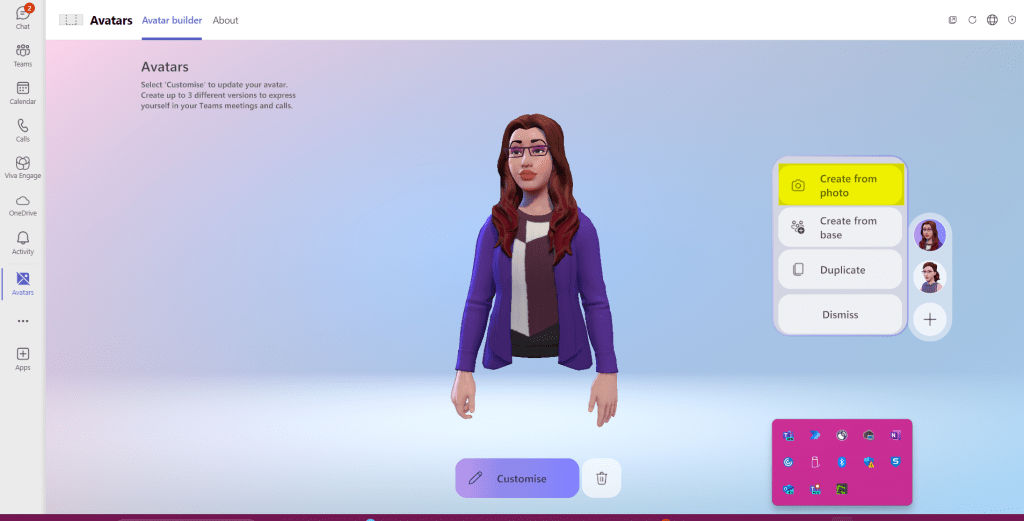
After my minor annoyance of having my English corrected, I decided to google and found a place called Specsavers. Being a fan of online appointment booking, I found a location near me and started the booking. During the process, I was asked if I wanted to have an OCT scan for £10. Friends – I would love to tell you this was a thoughtful decision process, but it was actually “Yeah – why not. It’s only £10.”

So here’s how that went

I do the exam. Really interesting that even across continents, the exam was very similar to the exams I have had over the course of my lifetime. Read the smallest line you can see on the chart – is it better with lens 1 or lens 2?

Sure enough – my prescription had changed. In fact, it changed a LOT – better get those glasses before I try driving across country again. The optician (see me using my fancy new word) started talking to me about different types of lenses, what will be good for being in front of the computer all day, etc. He was so calm and had such a soothing voice.

He then says, let’s look at your OCT scan.

The image is an eye chart commonly used for vision tests. The chart features ten lines of letters that decrease in size from top to bottom. The top line has a large letter "E." Below that, the letters progressively get smaller. Each line has a number next to it on the right side, starting from 1 at the top to 10 at the bottom, indicating the visual acuity associated with reading that line from a specific distance. At the bottom of the chart, there's text advising to place the chart on the wall at 10 feet away to test vision. The chart is branded with "National Optical" and their tagline "Your Family Eye Care Center" in the bottom right corner, and a call to action to "CALL NOW FOR AN APPOINTMENT!" in a blue strip at the very bottom.
Standard Eye Chart

What the heck is an OCT scan?

I hadn’t really heard of an Optical Coherence Tomography (OCT) scan to be honest. According to Specsavers

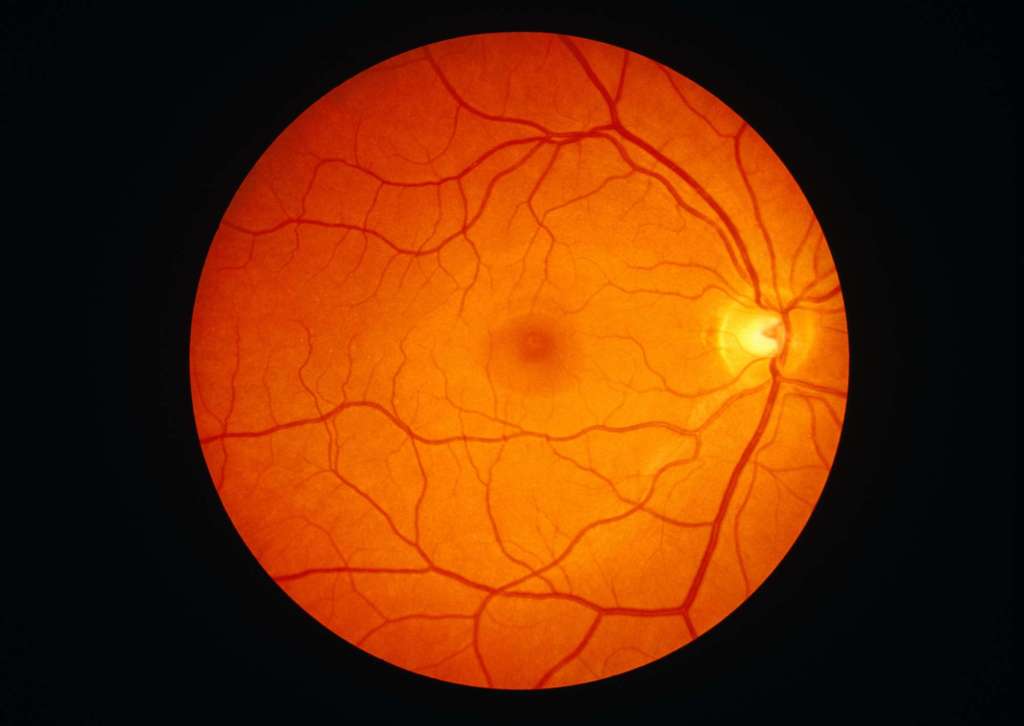
OCT is separate to an eye test. An eye test checks your eye health as well as how well you can see. Part of that often involves taking an image of the back of the eye (digital retinal photography), but an OCT scan takes this a step further, allowing your optician to look even deeper into your eyes and the structures within them.

So he takes a look at my scan and see he is concerned. He moves back and forth between the OCT scan and the digital retinal photography image and tells me he needs to take a closer look at my eye with the microscope. After a thorough examination, he breaks the news to me. He says he suspects my retina has become detached. After a call to Torbay Hospital, it is determined I need to be seen right away – as in that day – for further examination.

The Ophthalmologist Exam

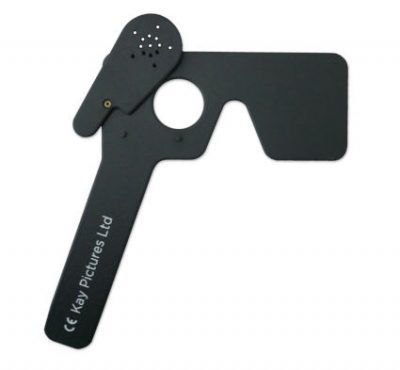
Torbay Hospital has always treated me well – and today was no exception. I learned several new things. One of the (what I considered neato) things is that there is a test called Pinhole visual acuity. What this means is that when my vision was tested (glasses on!) it was drastically improved by the use of a pinhole eye shield, which is super common with myopia.

I underwent another imaging exam. Afterwards, I underwent further examination with a microscope and a special lens placed directly on my eye – this is called Gonioscopy. Finally I was sent to the lead ophthalmologist to provide a diagnosis and review my options.


The image shows a close-up of a person holding a hand-held device up to their eye. The device appears to be a type of optical instrument, possibly a retinoscope or another eye examination tool. The person is looking through the device, which is reflecting multiple images of their eye back at them. The device has a circular lens or mirror system that creates these reflections. The focus is on the eye and the instrument, with the person's face partially visible in the background.
Gonioscopy

Asymptomatic Retinal Detachment

The diagnosis is Asymptomatic Retinal Detachment.

The usual causes of retinal detachment are tiny holes or tears in the retina that allow fluid to spread under the retina and lift it away from the back wall of the eye .

It sounds scary because it is. The ophthalmologist shows me the different layers in my eye indicating that the tear has grown over the past few months. He does a demo with my left eye covered to show that my vision is obstructed in the upper left corner of my right eye due to the detachment.

The good news is that it has probably been there a few months. It isn’t a sudden event. The reason this is good (to me, anyway) is because it gives me time to consider my options.

He talks to me about a surgery called Scleral buckle. He explained it in great detail, but I was most interested in the part where he said I would be asleep and not feel anything during it.

I have the option to just monitor it and not do the surgery. The obvious risk is that the tear could grown and as it gets closer to the centre of my eye, it is a bigger threat to my vision.

The image is a medical illustration showing a "Before" and "After" comparison of a scleral buckle procedure used to treat retinal detachment. 

- **Before:** The left side of the image depicts the eye with a retinal detachment. The retina is shown as a detached layer with a yellowish area indicating the location of the detachment at the back of the eye.
  
- **After:** The right side shows the eye after the scleral buckle procedure. A blue band (the scleral buckle) is placed around the circumference of the eye, externally, to push the wall of the eye inward, which helps the retina reattach to its proper position.

The illustration emphasizes the effectiveness of the scleral buckle in reattaching the retina and restoring the eye's structure.

And there you have it

How does this relate to accessibility? I think it is obvious. Technology and innovation has provided a way for a specialist to see the detail of my eye, including the retina, even though I had no symptoms that eluded to a retinal detachment. I am excited to see how technology becomes more accessible to the ordinary person and helps improve our ability to enjoy the world around us.

They are making me turn my camera on! – Teams Avatars

“Can everyone turn their cameras on please?”

A lot of us dread those words, but few of us consider the impact of the words on some of our colleagues.

Setting the Scene…

Another person, sometimes even a person in a position of authority, has directed someone else to expose their vulnerability and come onto camera. Panic sets in – carefully considering the options and fearful of repercussion, the individual reluctantly turns on the camera. Exposed, broken, and on view in front of people they may or may not know, they summon every ounce of strength inside to get through the rest of the meeting.

Or maybe they don’t – maybe they feign a technical issue. Maybe they pretend not to hear. Maybe they just decide to not oblige and hope the meeting is big enough that no one notices.

But sometimes, they may find themselves in the midst of a flashback – a terrible, vivid memory that makes it difficult to distinguish between reality and imagination. Thrown back to a time in which they were also made to feel vulnerable and exposed with no warning and no escape. By the time they get their bearings straight, the call is over. They have no idea of the content discussed and find themselves in need of some time and space to regroup.

What can be done about it

PTSD and CPTSD fall under the neurodiversity umbrella. In addition, nearly 6% of the population in the UK have anxiety disorders. Let’s explore ways we can make Teams calls more inclusive for everyone.

For those of us who are leading calls and asking our colleagues to participate, think about what is truly necessary to achieve the task at hand. Do we have to have cameras on to achieve our goal?

Maybe you just want everyone to feel more connected. There are lots of ways to do this, including icebreakers and team builders.

And consider this – you might also receive more input from someone who is more comfortable with the camera off. Better decisions come from gathering more information.

For those who find themselves uncomfortable on camera, there are alternatives that may assist. One possible solution is creating an avatar in Microsoft Teams to represent you in a “cameras on” meeting.

Here’s how you do it – Creating an Avatar

1. Install the Avatars app from the Teams Apps section.

a. Click the Apps button
b. Search for Avatars
c. Select Avatars from the right


2. Open the Avatars app and select your preferred way to create an avatar – today I want to try a new feature called “Create from photo.”

If you are going to create from an existing photo, there are requirements that need to be met:

  • .jpeg, .bmp or .png format
  • 26-x26- to 4096×4096 and not exceed 10 MB
  • Directly face the camera, face in centre of image
  • Neutral facial expression
  • Remove sunglasses and headwear if possible
  • Image is taken in a well-lit environment

I really don’t want to search through all my photos and meet the requirements (shout out to ADHD for that one), so I am going to try the “Use Camera” feature and do this with my webcam.

Side note – I apparently don’t take this seriously and require several takes.

3. Adjust your avatar’s appearance to your preference.

With my photo option, I am able to select a body type, then clicking Save and Edit allows me to adjust various aspects of my Avatar, such as body shape, hair, clothing and more! When you are happy with the result, click Finish Customizing to save your Avatar.

Use your Avatar in a meeting

To use your avatar in a meeting, start with your camera off.


Click on the Effects and avatars option to select the avatar you would like to use. You can also select a background. After you have made your selections, click Join now to attend the meeting.

While in the meeting

During the meeting, you can express emotions with your avatar through the More button, then Avatars and Effects. You can even set your Avatar’s mood!

You Did It!


I hope this was helpful – as we learn more about each other, we can continue to do better and strive for an inclusive workplace.

For further information on Avatars in Teams, visit Microsoft Support

For more information on PTSD, visit https://www.ptsduk.org/