
One of my favourite accessibility features is captioning (also known as subtitles.) I use closed captioning at home when watching TV and even seek out captioned performances at the theatre. I was delighted the first time I discovered that this feature is built in to Microsoft Teams!
While most people associate captions with individuals who are deaf or hard of hearing, there are other people who can also benefit from this accessibility tool.
Here are ways that I am assisted by this technology:
First – the accents.
According to italki, there are 160 different dialects of English around the world. As an immigrant, I sometimes have trouble understanding different accents, even though I speak the same language. I am on a diverse team and I work with people all across the globe. Captioning helps me be to “read” the speaker’s words, making processing the speech much easier.
Second – my anchor.
Ever had someone call your name in a meeting only to realise you drifted off into planning tonight’s dinner? (Guilty!) ADHD sometimes interrupts my focus and captions allow me to quickly catch up and contribute value to the discussion.
Third – sensory overload.
A lot of neurodivergent people, including myself, also have Auditory Processing issues. If there is too much sound/background noise/something else going on, I seem to lose my ability to make out what is being said. Captioning brings it right back and lets me clearly understand the conversation, no matter how much my puppy might be trying to distract me!
Easy Peasy I tell you!
Captions can be enabled in Teams with a few quick steps. Here are two methods:
METHOD ONE – Teams Main App Window
From your Teams main screen, click the ellipses (⋮) at the top (to the left of your picture) and choose “Settings”
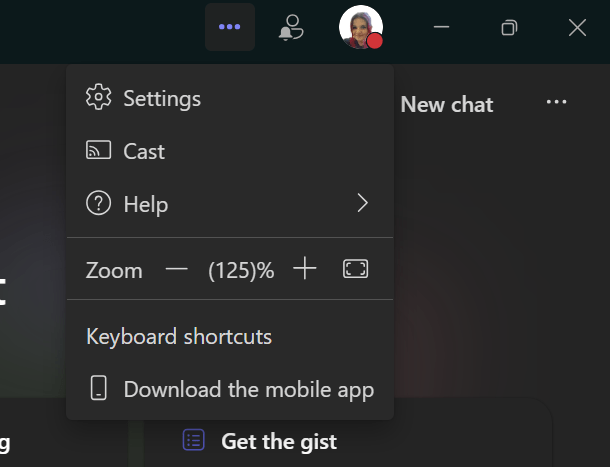

click on photos to enlarge
Select “Captions and Transcripts.” From here, you can elect to always show the live captions in meetings as well as to filter profane words in meeting captions (this replaces the offending word with *)
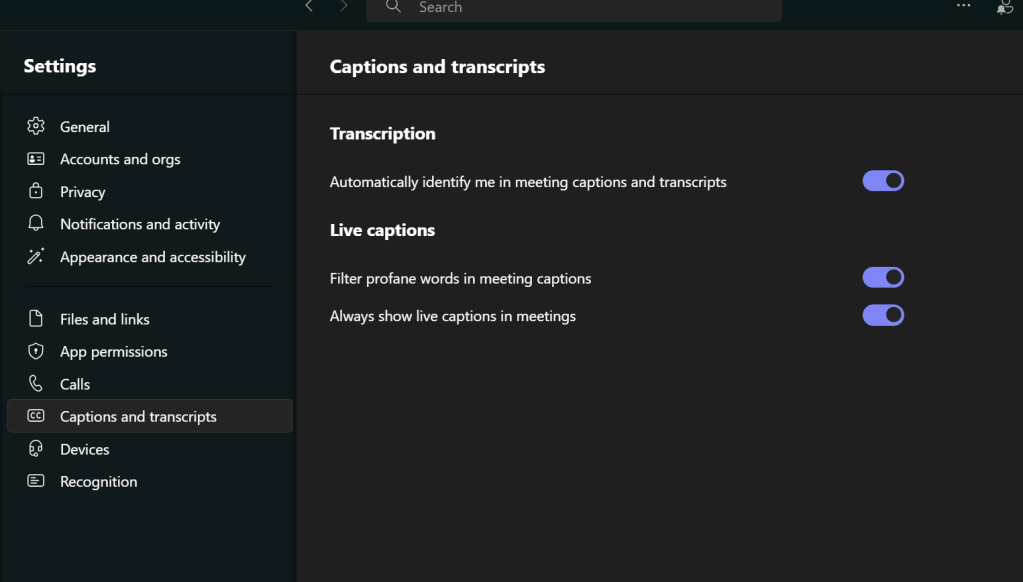

click on photos to enlarge
METHOD TWO: IN THE MEETING
“But Heather – my meeting already started and I forgot to set it – what do?”
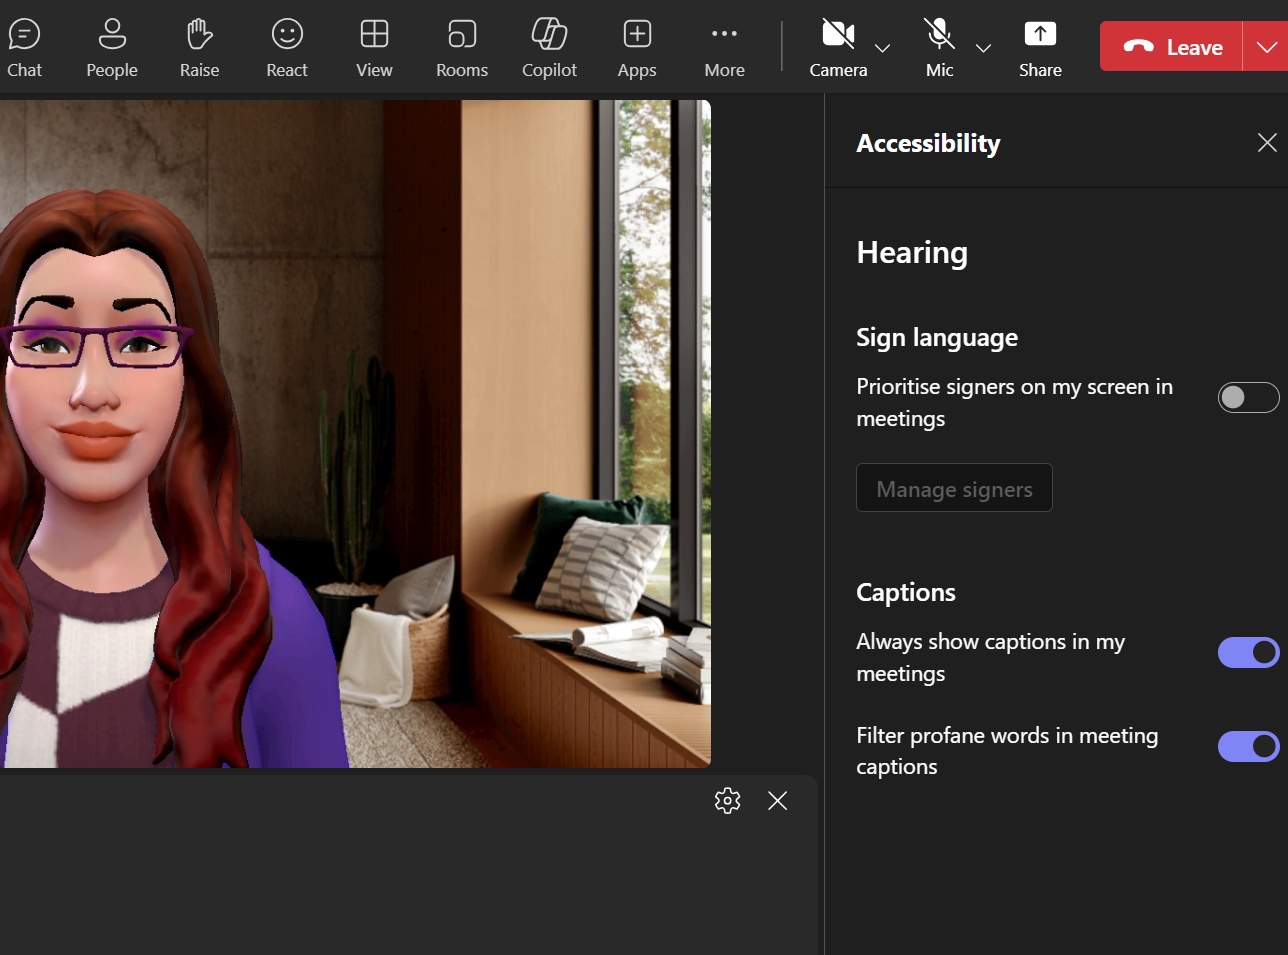
No worries – while in your meeting, select “More” (⋯) from the top and then select “Settings” followed by “Accessibility.”


click on photos to enlarge
From here, you can elect to always show the live captions in meetings as well as to filter profane words in meeting captions (this replaces the offending word with one or more asterik(s) *)
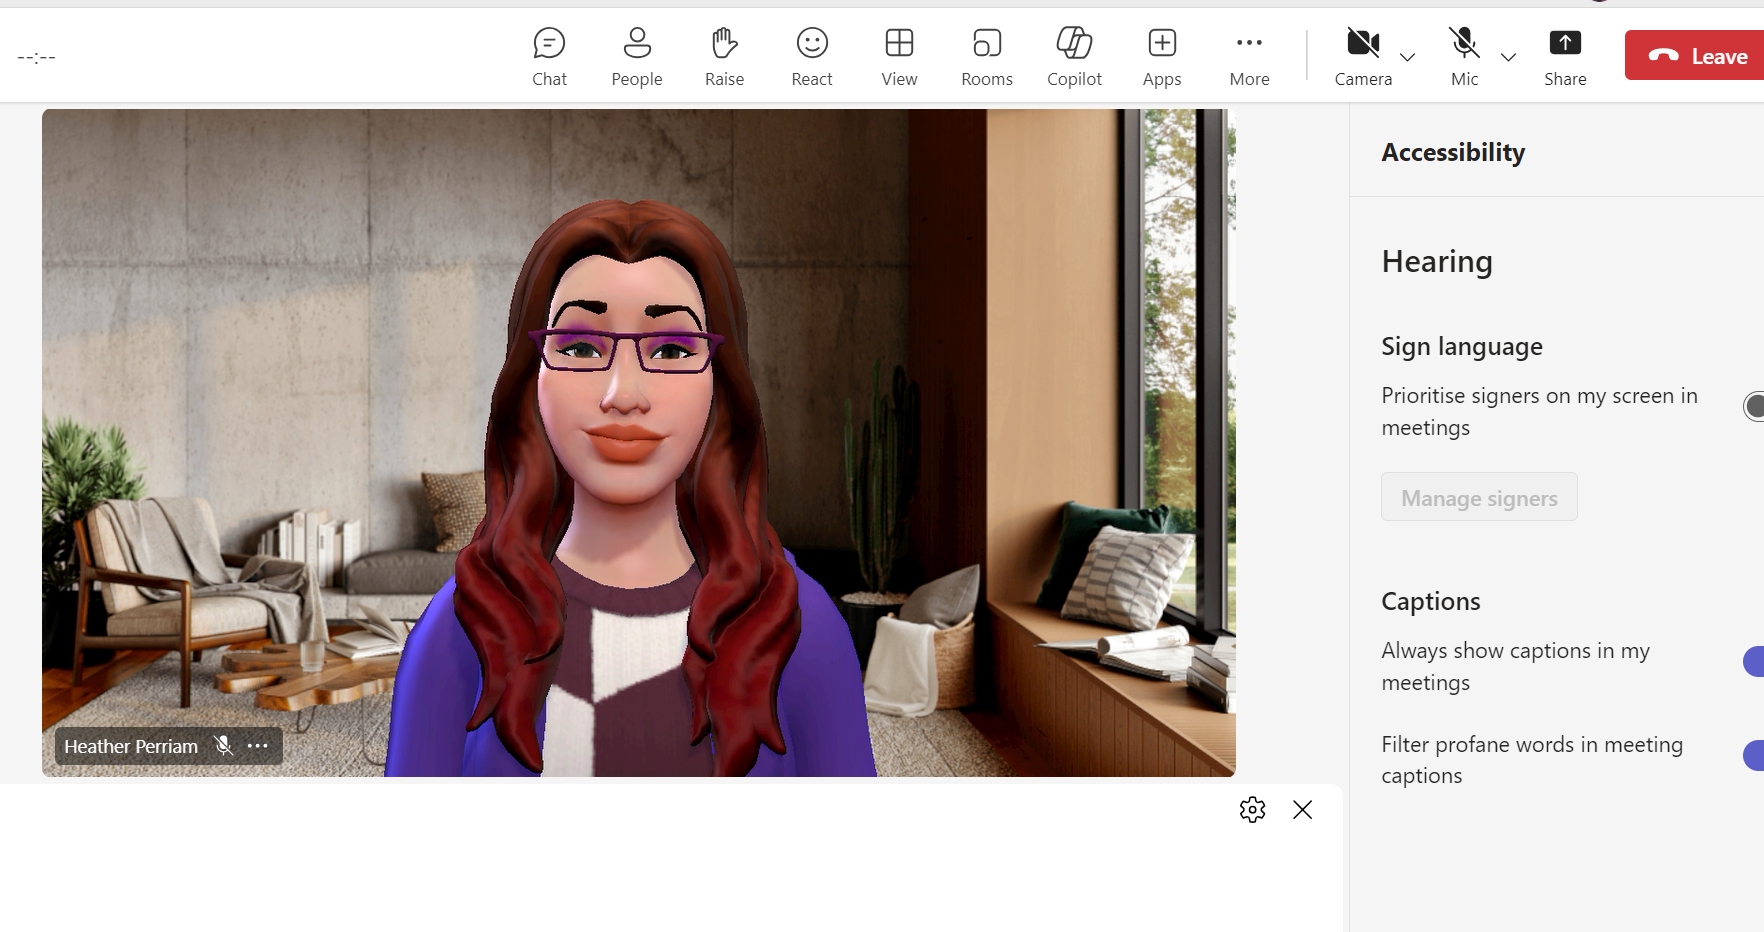
click on photos to enlarge
Once captions are enabled, you can change the look and contrast by clicking the “gear” icon ⚙️ in the caption window. Options include Font Colour, Background Colour, Height of the caption window, Position of the caption window, and the Font Size. You are also able to change the spoken language of the meeting.
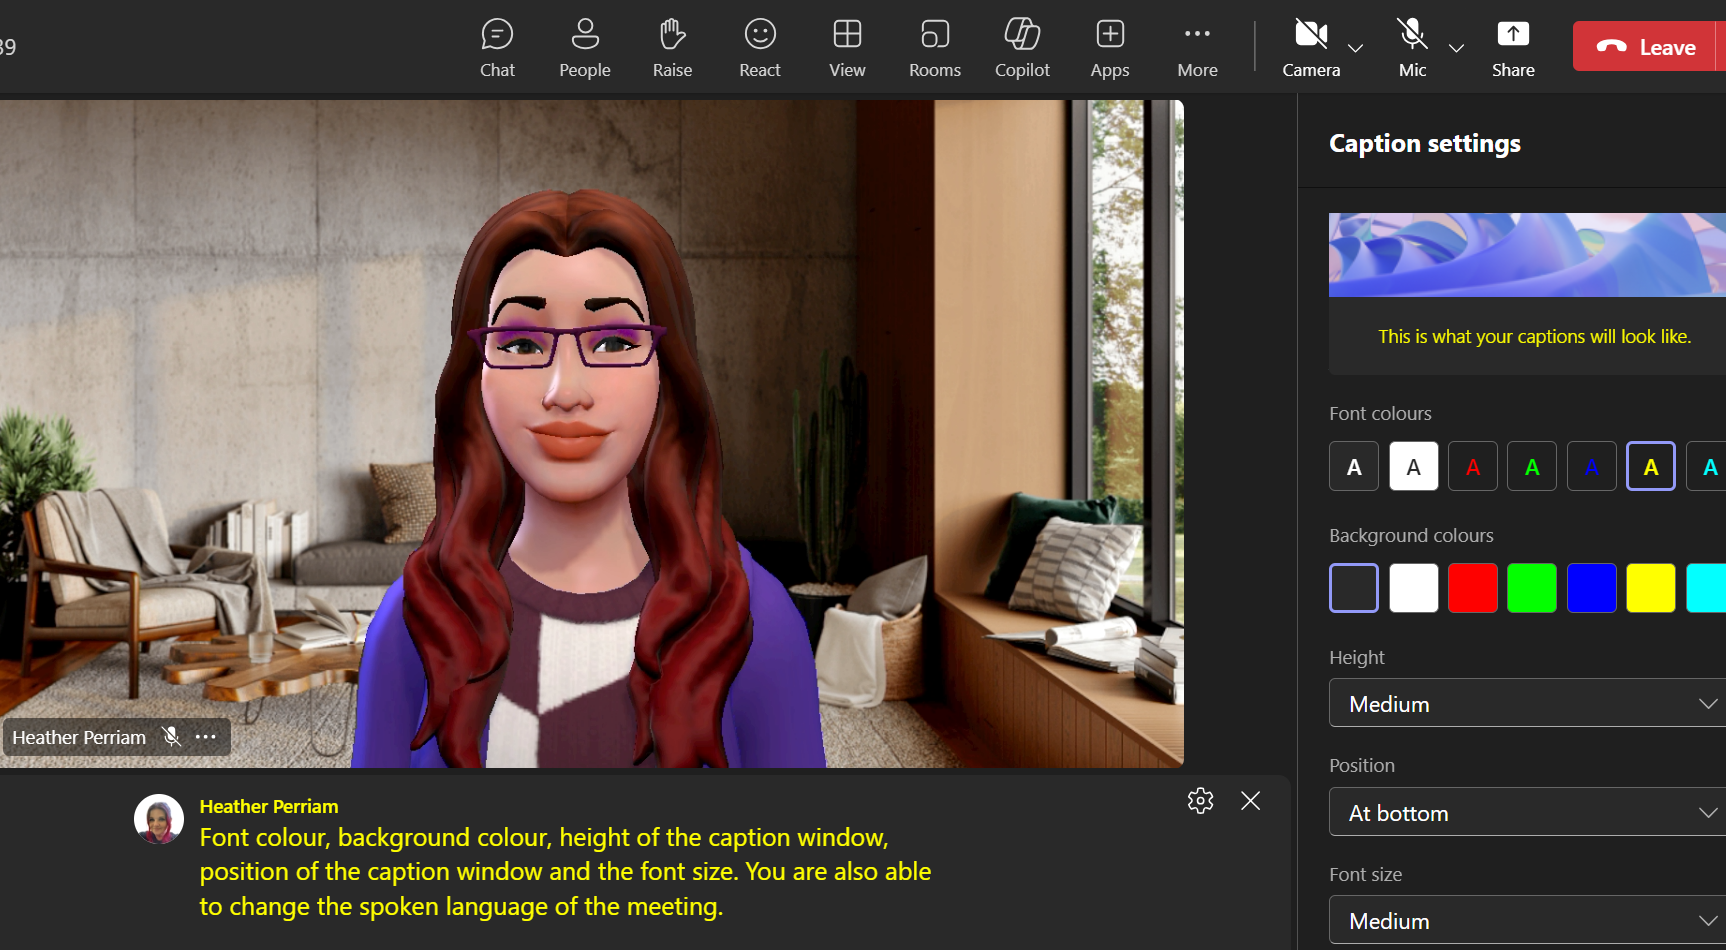

click on photos to enlarge
And that’s it – you are now ready to navigate through the rest of your meeting with one of my favourite tools enabled.
Quick Note – these captions are not stored after the call. While you can copy and paste, transcription is a much more effective way of capturing the conversation for future use.
For more information on ADHD visit https://adhduk.co.uk/
And if you would like to learn more about Auditory Processing Disorder, please visit https://www.thebraincharity.org.uk/condition/auditory-processing-disorder/
